5 Signs Your Oil Tank Needs Replacement Before a Costly Leak

A heating oil tank can look quiet and harmless for years, right up until a small weak spot turns into a messy, expensive leak. By the time oil reaches the floor, soil, or a finished basement wall, the problem is no longer just a heating issue. It can become a cleanup project.
The good news is that most failing tanks give warning signs before they fail. Some are obvious, like rust flakes or oil stains. Others are easy to miss, like a faint fuel smell, dampness under the tank, or heating equipment that runs less smoothly than it used to.
Use the signs below as a practical homeowner checklist. You do not need to be a technician to spot trouble early, but you do need to know what to look for and when to call a professional.

1. Visible rust or corrosion is spreading on the tank’s exterior
Rust is one of the clearest signs that an oil tank deserves attention. A small surface spot does not always mean the tank is about to fail, but widespread corrosion, flaking metal, bubbling paint, or rough patches can point to thinning steel.
Pay close attention to areas where moisture collects. This often includes:
The bottom third of the tank
Welded seams
Legs and support brackets
The area around fittings, valves, and gauges
Spots where the tank touches a wall, floor, or nearby object
Indoor tanks are not immune to rust. Basements and utility rooms can be damp, especially in homes with poor ventilation, water seepage, or high humidity. Outdoor tanks face rain, snow, ice, and temperature swings, so exterior corrosion may progress faster if the tank is not protected.
Rust can also hide under paint. If the surface looks blistered or raised, the metal below may already be corroding. Do not scrape aggressively or poke at weak areas. A thin spot can become an active leak if disturbed.
A practical way to assess the tank is to use a flashlight and inspect it from all sides. Look for color changes, rough texture, flakes on the floor, and any wet-looking areas around rust patches. Take photos every few months if you are unsure whether a spot is growing. If corrosion spreads, deepens, or appears along seams, schedule a professional inspection.
Rust is not just cosmetic when it affects a fuel storage tank. It can be a sign that the tank wall is losing strength.
Common inspection notes may include rusting, pitting, corrosion, leaks, drips, odors around tank, sludge build up, and other signs that point to a tank nearing the end of safe service.

2. Unusual odors or leaks appear around the tank area
Heating oil has a distinct smell. A light odor right after a delivery may happen, especially near the fill pipe or vent pipe. That smell should fade. If the odor stays, gets stronger, or returns between deliveries, it needs attention.
An oil smell can come from several sources:
A loose fitting
A small seep at a valve
A spill during delivery
A worn fuel line connection
A failing tank seam
Oil-soaked dust or absorbent material near the tank
Look around the tank for stains, dark patches, or oily residue. Check the floor, the tank legs, and the area under valves and filters. Heating oil often spreads slowly, so a leak may look like a dull stain rather than a puddle.
If the tank is indoors, odor can travel through a basement or utility room before a visible leak is obvious. In finished spaces, oil can soak into wood, drywall, insulation, or stored items. That is why smell matters. Your nose may catch a problem before your eyes do.
If you notice a strong or persistent oil odor, avoid trying to seal the tank yourself. Store-bought patching products are not a reliable fix for a compromised tank. They may hide the problem long enough for it to grow worse.
Instead, take these steps:
Keep people and pets away from the area if the odor is strong.
Avoid open flames or ignition sources nearby.
Ventilate the area if you can do so safely.
Check whether oil is actively dripping or pooling.
Call a qualified heating oil service technician.
A technician can determine whether the issue is a fitting, fuel line, filter, or the tank itself. If the tank wall is failing, Oil Tank Replacement may be the safest long-term solution.
3. Dampness or dripping from the underside means the tank may be failing
The underside of an oil tank is one of the most important places to inspect, and one of the easiest to overlook. Many tanks fail from the bottom because water and sludge settle there over time.
Heating oil tanks can collect condensation inside. Water is heavier than oil, so it sinks. Over the years, that moisture can contribute to internal corrosion, especially along the bottom of the tank. From the outside, the tank may look acceptable until a wet spot or drip appears underneath.
Dampness on the underside may look like:
A shiny bead forming on the metal
A dark stain along the bottom curve
Oily residue on the floor directly below the tank
A slow drip near a seam
Wetness around tank legs or supports
Do not assume dampness is just basement moisture. Touching unknown residue is not recommended, but you can place clean cardboard under the tank for a short period to help identify fresh drips. If new spots appear, call for service.
A slow oil leak can be deceptive. It may not produce a puddle right away. Oil can cling to the underside of the tank, run along the tank leg, or soak into concrete. If the tank sits on a pad, oil may spread under it where you cannot see it.

How to inspect the underside safely
You do not need to crawl under the tank. Use a flashlight and a small mirror if access is limited. Look from several angles. Check the floor below the tank, especially near the lowest points and along the length of any seam.
Do not hammer, scrape, sand, or press on suspicious areas. If corrosion has thinned the steel, pressure can create a leak. The goal is to observe, not test the strength of the tank.
Call for help right away if you see active dripping. Even a small drip can become a larger release without warning.
4. The tank’s age and maintenance history raise red flags
Age matters because oil tanks do not last forever. Service life can vary widely based on tank type, installation quality, indoor or outdoor location, moisture exposure, and maintenance history. A well-installed indoor tank in a dry basement may last much longer than an outdoor tank exposed to weather, but age still increases risk.
If you do not know how old the tank is, look for a manufacturer label, installation tag, service sticker, or paperwork from past homeowners. The tank may have a data plate with a date or serial number. If you cannot find one, a technician may be able to estimate age based on the tank design and condition.
A missing maintenance history is also a warning sign. Lack of records does not prove the tank is unsafe, but it makes the risk harder to judge.
Good records may include:
Annual heating system service
Tank inspections
Filter changes
Fuel line repairs
Water or sludge checks
Notes from oil technicians
Prior recommendations for replacement
If past service notes mention water in the tank, recurring clogged filters, sludge, corrosion, or seepage, take those comments seriously. They can point to internal problems that are not fully visible from the outside.
Homeowners often delay replacement because the tank still works. That can be risky. A tank can hold oil today and still be close to failure. Proactive replacement is usually easier to plan than emergency replacement after a leak.
When age should prompt a professional opinion
Consider scheduling a tank evaluation if:
The tank is older and you cannot confirm its installation date
There are no service records
Rust is visible near seams or the bottom
The tank has been exposed to repeated moisture
You recently bought the home and inherited the system
Delivery or service personnel have raised concerns
A professional can inspect the tank, fuel lines, supports, venting, fill pipe, and surrounding area. They can also explain whether the tank can remain in service, needs monitoring, or should be replaced.
5. Heating efficiency or performance has changed
A failing oil tank does not always announce itself with a visible leak. Sometimes the first clue shows up in heating performance.
If your heating system starts acting differently, the tank may be part of the cause. Oil quality, water, sludge, and debris can affect fuel flow. When contaminants collect in the tank, they can clog filters, strainers, and nozzles. That can make the heating system work harder or shut down unexpectedly.
Watch for these changes:
The heating system needs more frequent service calls
Filters clog sooner than expected
The burner runs rough or shuts off
Heat output feels less consistent
Fuel usage seems higher without a clear reason
The system struggles after an oil delivery
Not every performance problem means the tank needs replacement. A furnace or boiler can have its own mechanical issues. Thermostat settings, insulation, outdoor temperatures, and burner maintenance all affect fuel use. Still, tank condition belongs on the checklist when heating performance changes.
If problems happen soon after delivery, the delivery may have stirred up sediment from the bottom of the tank. That sediment can move into the fuel line and filter. Repeated clogging is a sign that the inside of the tank may be deteriorating or holding excess sludge.
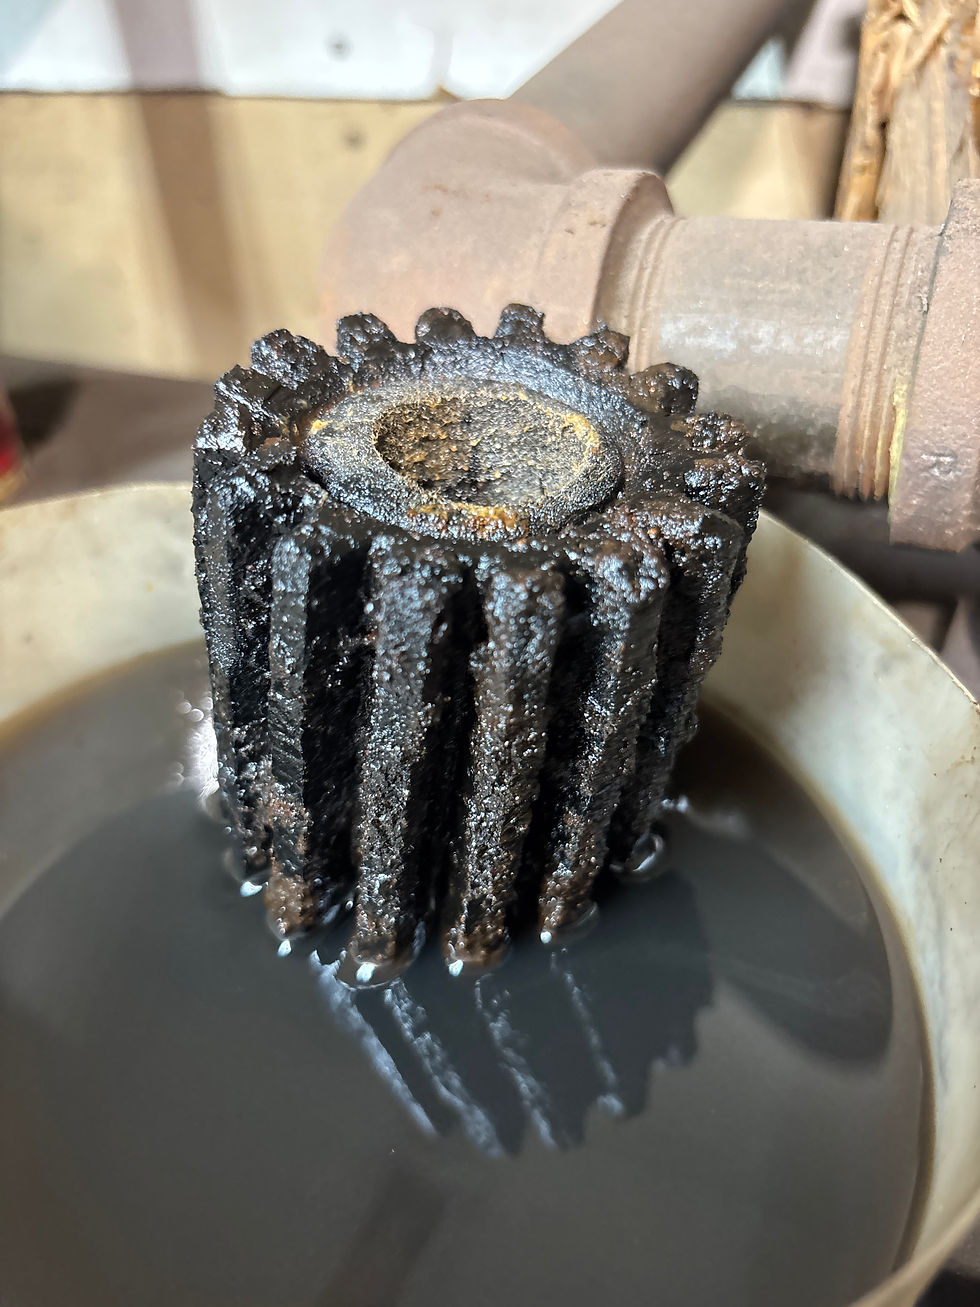
How homeowners can check an oil tank without taking risks
A careful visual inspection can tell you a lot. Set a reminder to look over the tank at least a few times per heating season, and always after major storms, basement water problems, or fuel deliveries.
Use this simple routine:
What to check | What to look for | What to do next |
Tank exterior | Rust, bubbling paint, dents, stains, damp spots | Photograph changes and call if they spread |
Underside | Wetness, drips, dark floor marks | Treat active dripping as urgent |
Fittings and valves | Oil residue, staining, loose-looking connections | Call a technician, do not tighten parts blindly |
Tank legs and supports | Rust, shifting, leaning, cracked pad | Get a professional stability check |
Surrounding area | Fuel odor, stained floor or pad | Ventilate safely and schedule service |
Heating performance | Clogged filters, burner issues, higher fuel use | Ask your service provider to inspect the tank |
Keep the area around the tank clear so you can see all sides. Do not stack boxes, tools, paint cans, or stored belongings against it. Clutter traps moisture and hides leaks. Additionally, maintaining clear access to the tank is crucial as clutter can prevent necessary maintenance. In the event of a leak or spill, clutter could also lead to significant damage to your belongings.
Good maintenance also includes keeping basement humidity under control, addressing water seepage, and making sure the tank is serviced by qualified professionals. For outdoor tanks, clear snow and vegetation away from the tank, supports, fill pipe, and vent pipe. The tank should be accessible for delivery and inspection.
When replacement is the smarter choice
A repair may make sense for a valve, filter, line, or fitting. A compromised tank wall is different. If the steel is thin, corroded, or leaking, a patch is never a dependable long-term answer.
Replacement is always the smarter choice when several warning signs appear together, such as age, rust, odor, and recurring filter problems. Planning ahead gives you more control over timing, tank options, and installation. It also reduces the chance of an emergency cleanup.

A heating oil tank is easy to ignore because it works in the background. That is exactly why a simple inspection habit matters. Look for rust, odors, dampness, age concerns, and heating performance changes. If something seems off, do not wait for a puddle to prove there is a problem.
Catching the warning signs early can help protect your home, your heating system, and your budget. A short inspection today can prevent a costly leak tomorrow.


Comments